Tuesday, 26 August 2025
How to move to Italy as a US citizen: a relocation guide
If you’re wondering how to move to Italy as a US citizen, you’re likely thinking about quality of life, better food, or maybe reconnecting with your roots. Whatever your reason, making the move is possible—but it takes planning, patience, and paperwork.
This guide is specifically designed for those moving to Italy from the US and Italy from the USA, addressing the unique considerations, visa options, legal requirements, and practical steps Americans need to know.
This guide walks you through each step clearly. You’ll learn what documents you need, which visas are available, how to register once you arrive, and how to settle in smoothly.
Why move to Italy?
Overview of Italy’s appeal: culture, lifestyle, climate, and opportunities
Italy has deep traditions, beautiful scenery, and food that draws travelers back again and again. Life moves slower here, with long lunches and strong family ties.
The weather is mild in most parts of the country. You can ski in the Alps in winter or swim in the Mediterranean during summer.
Major cities in Italy, such as Milan and Rome, are especially popular among expats and newcomers for their amenities, job opportunities, and vibrant cultural experiences. Cities like Milan and Rome offer jobs in design, tourism, tech, and education. Smaller towns offer peace, community, and lower costs.
Step 1: Preparing your documents
Valid Passport requirements
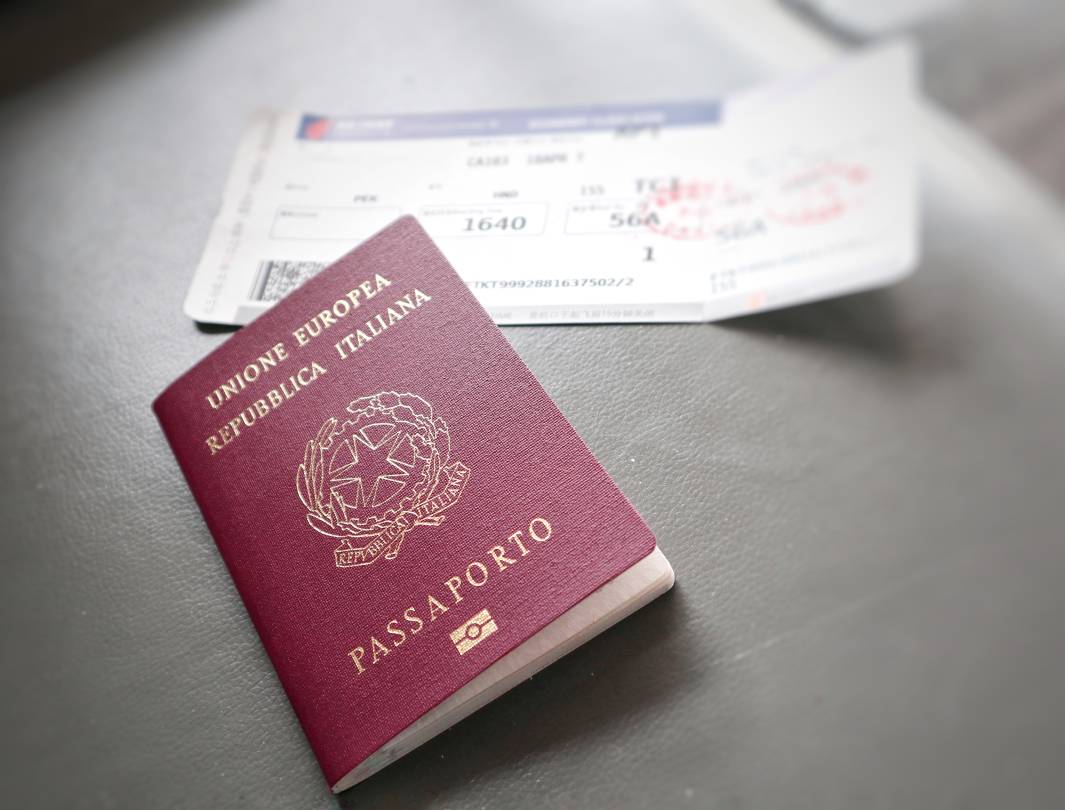
Make sure your US passport is valid for at least six months beyond your arrival date. This is a rule across most Schengen countries, including Italy.
If your passport is close to expiring, renew it early. Many embassies now take longer to process applications.
Birth Certificates, Marriage Certificates, and other personal documents
You’ll need original birth certificates and, if married or divorced, your marriage or divorce certificates. If you are moving with a family member, you will need their documents as well. These may be needed for visas, health coverage, or applying for residency.
Some documents will need an apostille from the Secretary of State and a certified translation into Italian. Each Italian consulate lists exactly what they require, so check carefully.
Health, vaccination, and educational records
Bring a copy of your full vaccination history. You may be asked for this if you plan to enroll children in school or access healthcare. International schools in Italy may also require vaccination and educational records for admission.
If you’re applying for a student visa or hoping to work, keep your degree certificates and transcripts on hand. Some Italian employers ask for these.
Organizing and making copies of all important documents
Keep all documents in a folder, sorted by type. Make at least three copies—two paper, one digital.
Store digital copies on a secure cloud drive so you can access them from anywhere. Losing a document can delay your process by weeks.

Step 2: Choosing and applying for the right Visa
Visa options for US citizens
Choosing the right visa depends on why you want to move and how you plan to support yourself. If you are a US citizen planning to stay in Italy for more than 90 days, you will need to apply for a residence visa, also known as a long stay visa or Italian visa, depending on your purpose of stay.
Elective Residency Visa
This is called the elective residence visa and is for people who don’t plan to work in Italy but have enough income to live there. You must demonstrate sufficient passive income—such as retirement funds, rental income, or investments—and sufficient financial resources to qualify.
The elective residence visa is ideal for retirees or remote business owners. You can’t work in Italy on this visa, even freelance.
Investor Visa
To qualify for the investor visa, you must make a significant financial investment in Italy. One of the eligible options is investing in Italian government bonds or other government bonds, with the minimum amount starting at €250,000 and increasing depending on the chosen investment, such as an Italian company or startup.
The Golden Visa suits people who want residency through investment. It’s fast-tracked compared to other visas and is designed to support the Italian economy by attracting foreign capital.
Work Visa
Work visas are available to non-EU citizens and foreign nationals who wish to work in Italy. You’ll need a job offer from an Italian employer before you apply, and only Italian companies can sponsor the necessary paperwork for these visas. Italy has a quota system, so permits are limited each year.
The company must apply for your work permit in Italy first. Once approved, you apply for the visa at the consulate in the US.
Student Visa
You need proof of enrollment in an Italian university or language school. You’ll also need proof of housing, income, and health insurance—private health insurance may be required for student visa applicants.
You can work part-time with this visa, up to 20 hours per week. It’s often used as a first step by people planning a longer stay.
Digital Nomad and Retirement Visas
Italy is introducing a digital nomad visa specifically for remote workers. You must prove steady freelance or remote income and meet minimum earning limits.
In addition, self-employed visas are available for freelancers and entrepreneurs who wish to work independently in Italy.
Retirement options fall under the elective residency visa. You must show a stable monthly income and have no plans to work.
Visa Application Process at Italian Consulates
You apply through the consulate or the Italian embassy that serves your home state. The Italian embassy is responsible for processing the visa application form and conducting interviews. Each consulate has its own process and wait time.
Check their official site for a list of required documents. Most ask for proof of income, housing, insurance, and your passport. Each visa type has specific eligibility criteria that must be met, so review these requirements carefully.
Book your appointment months in advance. Some consulates book out fast.
Timeline and Fees
Visa approval can take 30 to 90 days. In busy months, it might take longer.
Fees vary but usually fall between $120 and $600 depending on the visa type. Pay by money order or certified check.
Tips for a successful Visa interview and documentation
Dress well, stay polite, and speak clearly. Answer questions truthfully.
Have all original documents plus copies ready to hand over. Keep everything neat and organized in a binder.
Missing one document can delay your approval or cause denial. Double-check the list from your consulate.
Step 3: Arrival and residency registration
Applying for Permesso di Soggiorno (Residence Permit)
You must apply for this permit within eight days of arriving in Italy. Go to a local post office and ask for the “kit.”
Fill out the forms, add copies of your passport and visa, and pay the fees. You’ll get a receipt with your fingerprint appointment date.
This permit lets you stay legally and is needed before registering with the town hall.
Registering your address at the local anagrafe
After getting your permit receipt, go to the Anagrafe in your city or town. Bring proof of your lease or ownership of a home.
You’ll also need your passport, visa, Codice Fiscale, and residence permit receipt. They will send a local police officer to check that you actually live there.
Once approved, they’ll register your residence.
Obtaining the Certificato di Residenza and Carta d’Identità
The Certificato di Residenza proves your legal residence in the city. You need it for public healthcare, banks, and getting a driver’s license.
You can also apply for a local ID card (Carta d’Identità). This is useful for everyday identification and travel within Europe.
Integration agreement for stays longer than 12 months
If you plan to stay over one year, you must sign an integration agreement. This means learning Italian and basic civic knowledge.
The agreement gives you two years to pass a simple language test and attend an info session. If you don’t pass, your residency can be at risk.
Step 4: Practical essentials for settling in
Getting Your Codice Fiscale
The Codice Fiscale is your tax ID number. It’s needed for renting, opening a bank account, or signing contracts.
You can apply for it at the Agenzia delle Entrate. Bring your passport and proof of visa or residence.
Some consulates issue this number before you arrive.
Opening an Italian Bank Account
Banks ask for your passport, Codice Fiscale, and proof of address. Some may ask for a job contract or residence permit.
Popular banks for foreigners include UniCredit, Intesa Sanpaolo, and BNL. Online banks like Revolut are faster to open but have fewer in-person services.
Securing Health Insurance
If you hold a long-term visa, you can enroll in Italy’s public system (SSN). You’ll pay an annual fee based on income.
If you’re not eligible or need coverage right away, get private insurance. Choose one that meets visa requirements.
Getting a local SIM card and setting up telecommunications
Most SIM cards are prepaid. Bring your passport and Codice Fiscale to sign up.
Top providers are TIM, Vodafone, Iliad, and WindTre. They also offer internet packages if you need home Wi-Fi.

Step 5: Finding Accommodation
Researching locations based on lifestyle, work, and amenities
Choose a city or town based on how you want to live. Rome and Milan are busy and more expensive. Tuscany and Puglia offer peace and lower rents.
Living in Italy, which is part of the European Union, gives you the advantage of easy travel and work opportunities in other EU countries, other European Union countries, and European countries. As a resident, you can benefit from shared policies among European Union countries that allow for greater freedom of movement and access to jobs across the EU.
If you’re working, look near job centers. If you’re retired, look for healthcare access and public transport.
Temporary vs. Long-Term housing options
Start with short-term rentals. This gives you time to explore neighborhoods before signing a long-term lease.
Once settled, you can look for long-term housing through sites like Immobiliare.it or Idealista.
Understanding rental agreements and tenant rights in italy
Most leases last 4+4 years. That means four years minimum, with a renewal for another four.
You’ll need a security deposit—usually two or three months’ rent. Always get receipts for payments and written copies of contracts.
Step 6: Financial planning and budgeting
Estimating cost of living by region
Northern cities like Milan and Bologna are pricey. Southern cities like Palermo or Lecce are more affordable.
A single person in a small town might spend €1,000–€1,400 a month. In big cities, it can rise to €2,000 or more.
Initial relocation expenses
Budget for visa fees, flights, deposits, furniture, SIM cards, and first grocery runs. You may need several thousand euros upfront.
Don’t forget monthly costs like rent, utilities, and transport.
Maintaining an emergency fund for unexpected costs
Keep at least three months’ expenses in savings. Things like health bills, legal delays, or apartment repairs can catch you off guard.
Step 7: Additional legal and administrative considerations
Driver’s license conversion or obtaining an Italian license
You can drive with a US license for up to 12 months. After that, you’ll need to take the Italian driving exam—written and practical.
Italy doesn’t allow a simple license swap with most US states. Some exceptions exist, but they’re rare.
Tax obligations as a US citizen living abroad
If you are living in Italy as a US citizen, you must still file US taxes every year. You may also owe Italian taxes, depending on your income source.
Hire a tax advisor familiar with both countries. Mistakes can lead to large fines.
Registering with local authorities and understanding local Laws
Some cities ask you to register with the local police or regional offices. Ask your town hall what rules apply to your area.
Follow local laws carefully—things like trash sorting or noise limits vary by region.
If you plan to bring family members to Italy, be aware of the family reunification process, which is required for legally joining relatives from abroad.
Step 8: Cultural and community integration
Language learning resources and courses
Learn basic Italian before you move. Once there, take local classes or use apps like Duolingo and Babbel.
Check if your city offers free classes through the public school system.
Joining local expat groups and community organizations
Join Facebook groups, local meetups, or language exchanges. These help with tips, friendship, and daily advice, and can be especially helpful for family members adjusting to life in Italy.
Some cities also have US clubs or cultural groups for newcomers.
Handling italian bureaucracy efficiently
Always bring extra copies of everything. Appointments often get canceled or rescheduled at the last minute.
Be patient, ask questions, and never throw away paperwork.

How to leverage dual citizenship and ancestry for a smoother move to Italy
1. Many US citizens have Italian ancestry but don’t know they qualify
If your parent, grandparent, or great-grandparent was born in Italy, you might already be eligible for Italian citizenship.
Italian citizenship by descent doesn’t expire over generations, but there are limits based on dates and whether your ancestor gave up citizenship.
2. Step-by-step guide to citizenship by descent
Start by finding your Italian ancestor’s birth certificate. Then collect documents showing the family line down to you.
All documents from the US must be apostilled and translated. Submit everything to your local consulate or a town hall in Italy.
3. How citizenship makes the move easier
If you get citizenship first, you won’t need a visa. You won’t need a Permesso di Soggiorno either.
You can work, live, and access healthcare from day one. Italian citizenship also allows you to live and work freely not only in Italy but also in other EU countries and other European Union countries without needing additional visas.
4. Tips on gathering and authenticating ancestral documents
Use genealogy sites or hire a researcher in Italy. Request records from Italian towns using email or certified mail.
However, if you work with Aprigliano Law Firm, you don’t need to worry about this step—our team also handles genealogical research as part of our citizenship services.
We assist clients in locating and requesting official documents directly from Italian municipalities, whether by email or certified mail, saving you time and avoiding common delays.
By choosing our firm, you gain access to comprehensive support—from ancestry research to full legal assistance—throughout your citizenship application process.
In the US, request documents from county or state archives. Each one will need an apostille.
5. Benefits of dual citizenship
You can live and work in any EU country. You can own property without limits. You can pass citizenship to your kids.
You’ll also have full access to Italy’s public services—schools, healthcare, and voting.
Ready to make your move to Italy?
Moving to Italy as a US citizen is more than a change of scenery—it’s a big step that requires careful planning. Whether you’re relocating for lifestyle, work, retirement, or to reconnect with your roots, you’ll need to get the details right. From choosing the right visa to registering your residency, each step needs attention.
If you’re thinking about applying for Italian citizenship—especially through ancestry—we can help. At Aprigliano International Law Firm, we guide Americans through the entire citizenship process. Whether it’s by descent, marriage, or naturalization, we handle the paperwork, translations, apostilles, and direct filings with Italian courts.
Start by filling out this eligibility form. Once we review your information, we’ll provide a full assessment and help you book a consultation. From there, we’ll walk you through every step—no guesswork, no wasted time.
We’ve helped thousands of Americans get their Italian citizenship. If you’re ready to begin your move to Italy, we’re ready to guide you through it—clearly, thoroughly, and with your goals in mind.